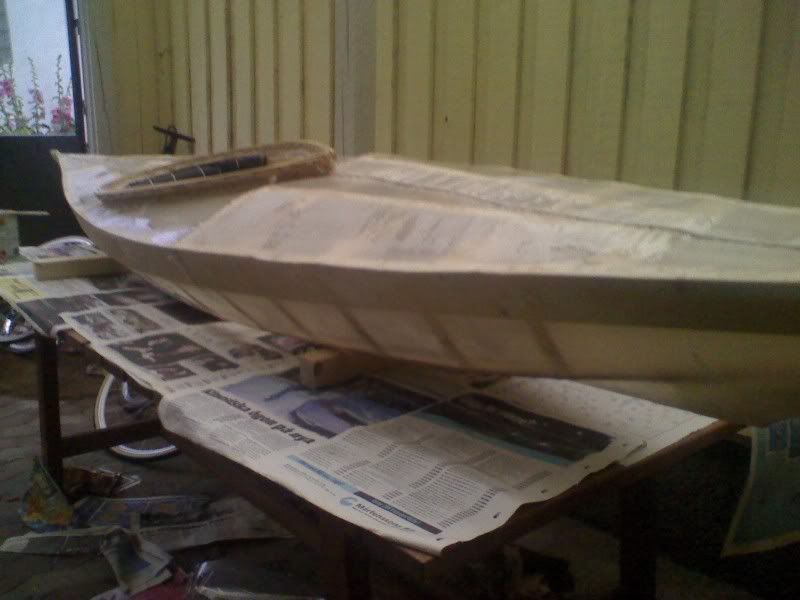
I went out friday after work, and bent the coaming.
for reasons beyond me i decided to start the coaming at the front end, where the bend is most acute.... so it was no big surprise when the wood didn't quite cooperate with me on that part...
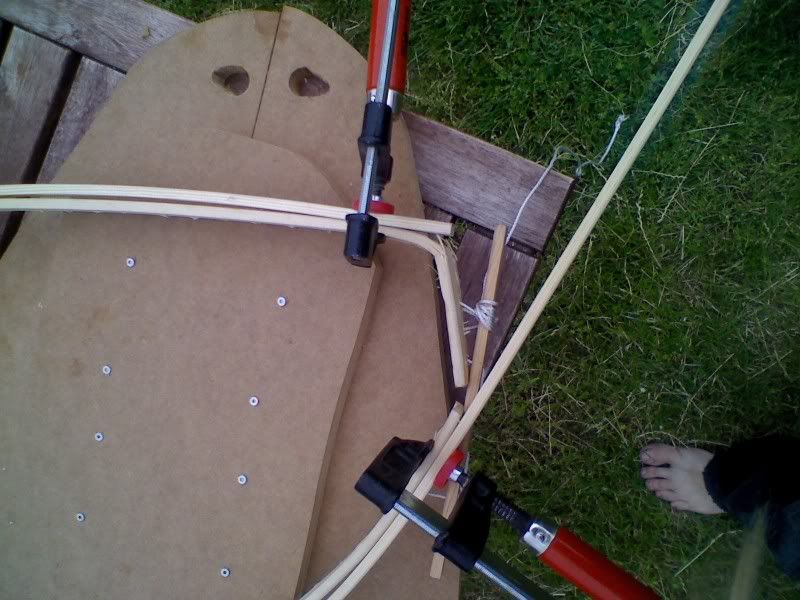
However, I'm still pleased enough with the end result that I didn't bother bending a new one.

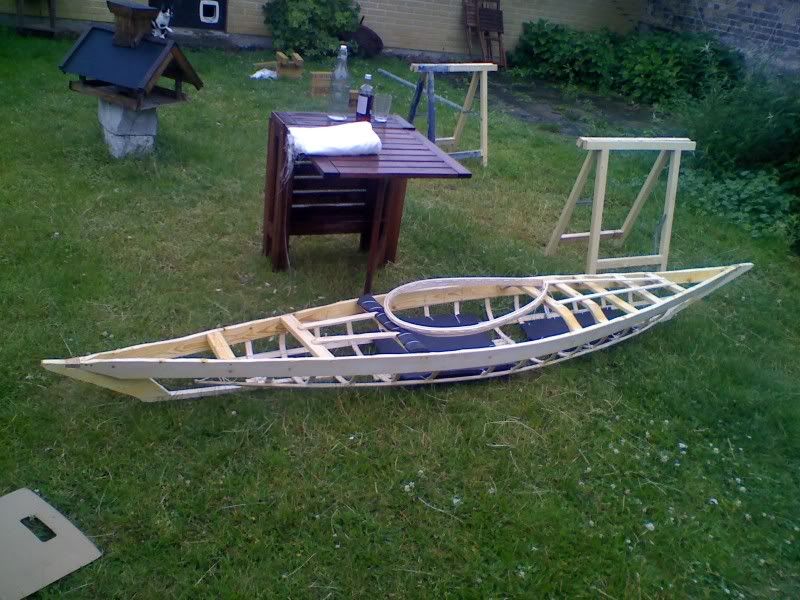
I also put some padding on the seat, the backrest and under the heels as you can see.
Saturday:Forward deck stringers added, and it was time for skinning!
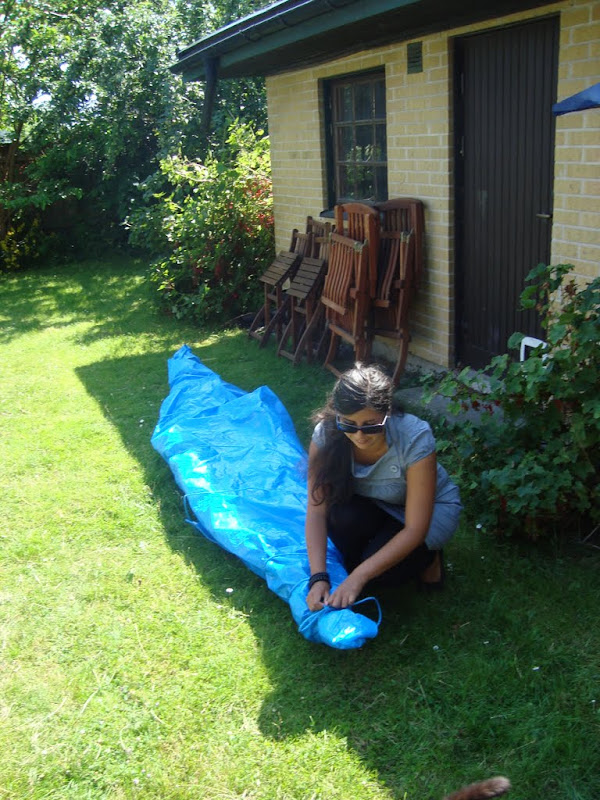
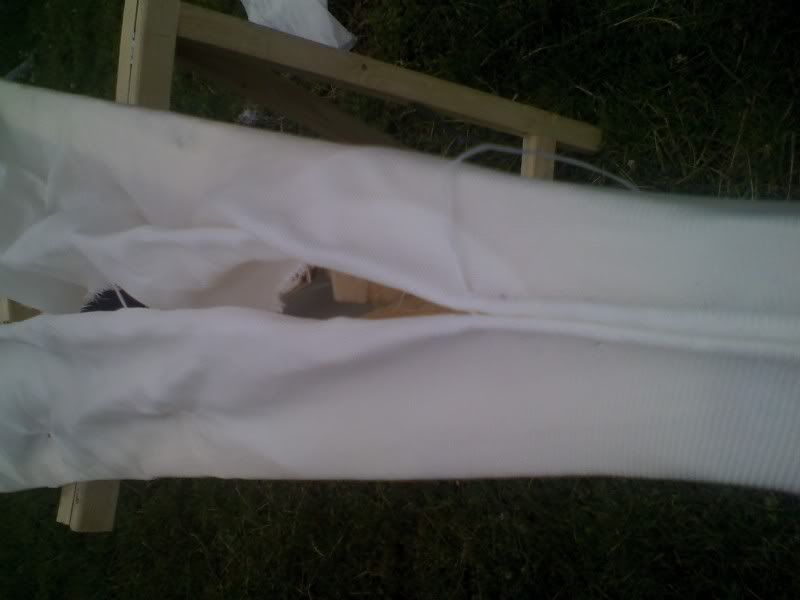
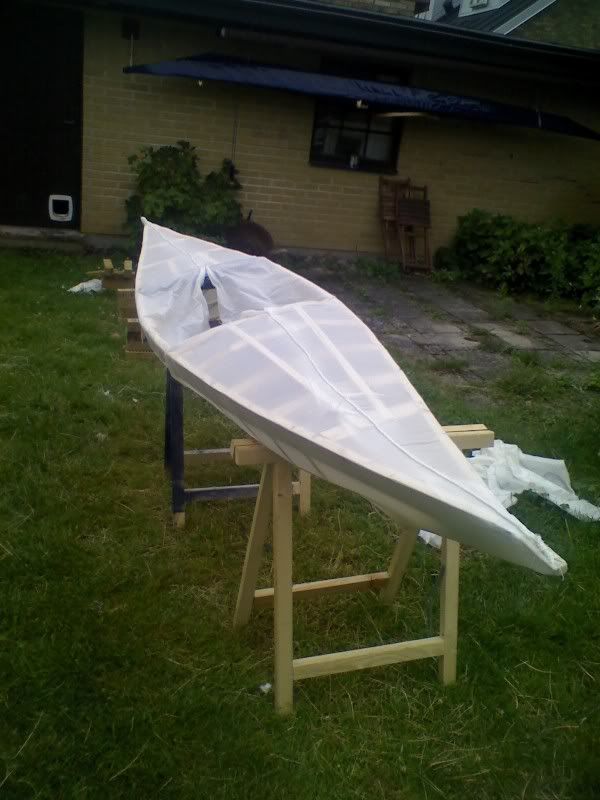
Start by turning the kayak keel up, and laying the cloth out over it, I made a small pocket in one end to fit the end of the kayak, and then pulled the cloth, and pulled, and pulled as hard as I could to stretch it, and marked the furthest point I could pull it to, then i made another pocket there, and with some more pulling managed to get it over the other end.
With the lengthwise stretching done, it's time for stretching the other way, with wide zig-zag stitches, and a whole lot of pulling and doubling back and pulling again.

after that, I stretched two strings (the same 1,4mm polyester line I use for lashing) from one end of the kayak to the other, along the middle, and trimmed the cloth to about 10 cm overlap over the line, then I tucked all the loose cloth under the lines, and started stitching it together under the line.
The seam wasn't quite as straight as I wanted it, but it's quite ok anyways.
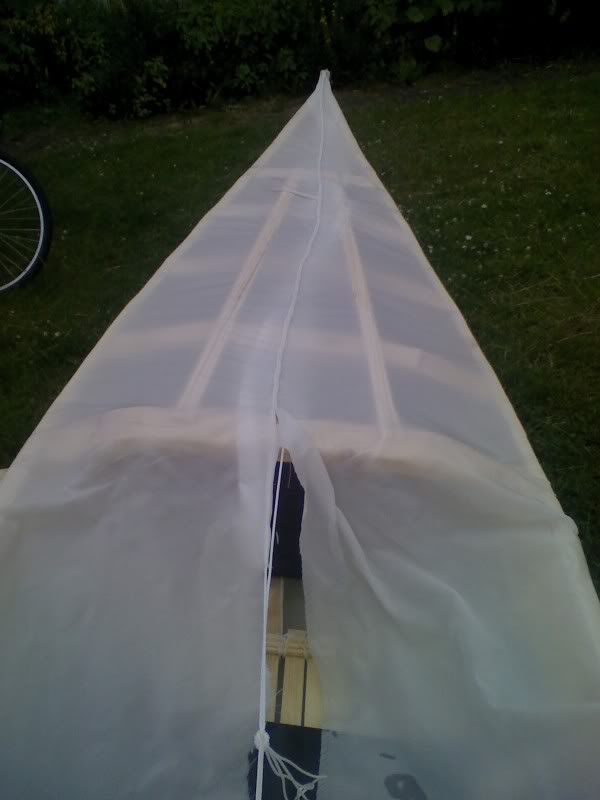
of course, only stitching from the front to masik, and back to backrest.
After that, it's time to stich the coaming on.
I tied the coaming on with string all around the kayak to hold it in place, and cut the loose cloth, so there was only about 5 cm cloth inside the coaming, and started sewing it in place, going through the hole in the coaming, through the cloth just under it, around the loose cloth, and back through the coaming.
and of course, once it was firmly in place, I went over it again, pulling another cm of cloth or so and tightening it all up as much as I could.
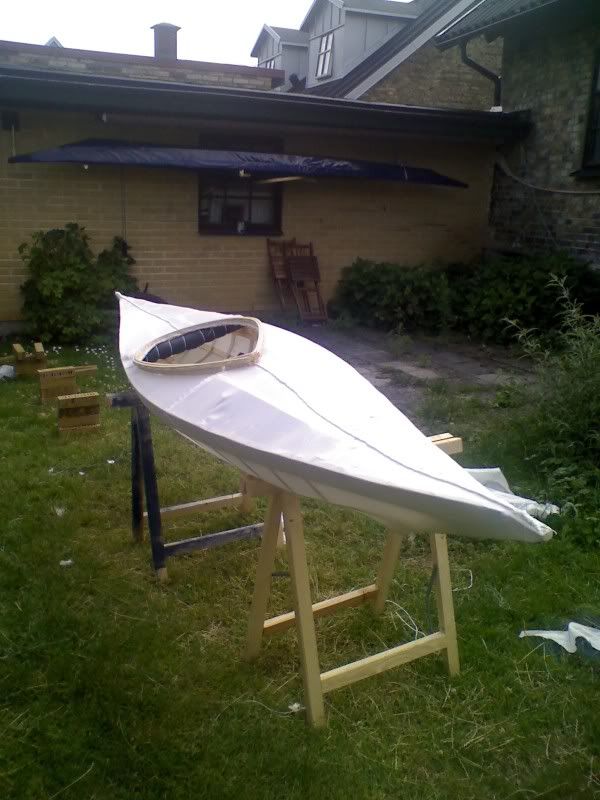
Kayak skinning done. :D
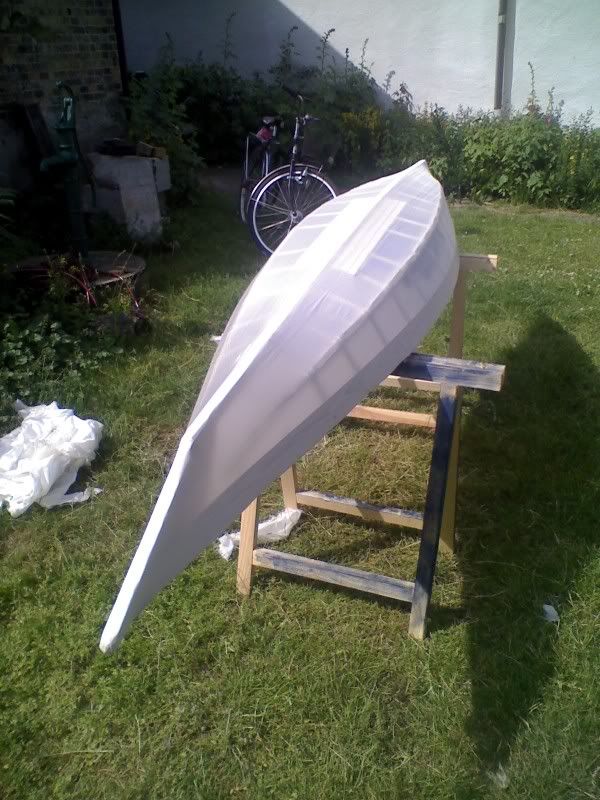
I took the kayak in (it started to rain) and put on the first layer of varnish, not particularly eventful, but of course, as usual the skin becomes completely transparent from the varnish.
 Sunday:
Sunday morning I woke up to find that my cold had gotten worse, and I had a bit of a fever, but after a couple of hours I felt well enough to go put on the second layer of varnish.
and of course, once that was done I went back and collapsed into bed again.
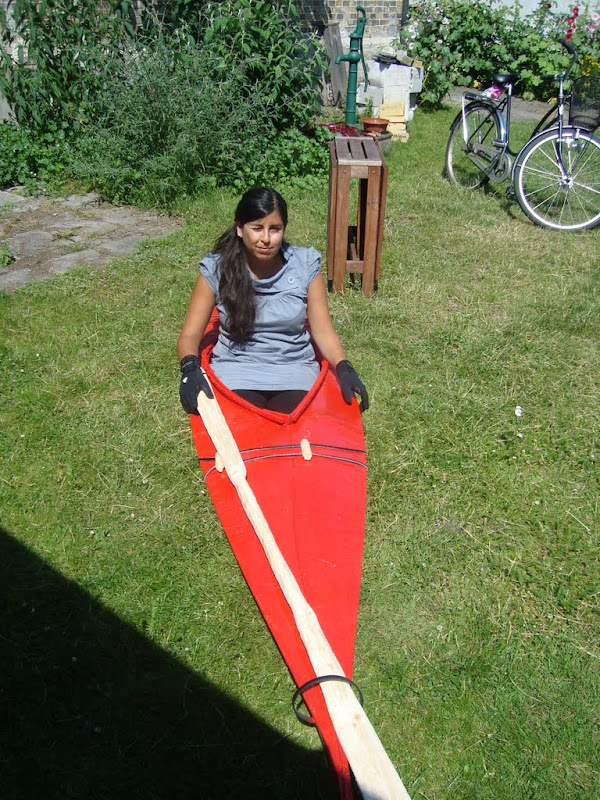
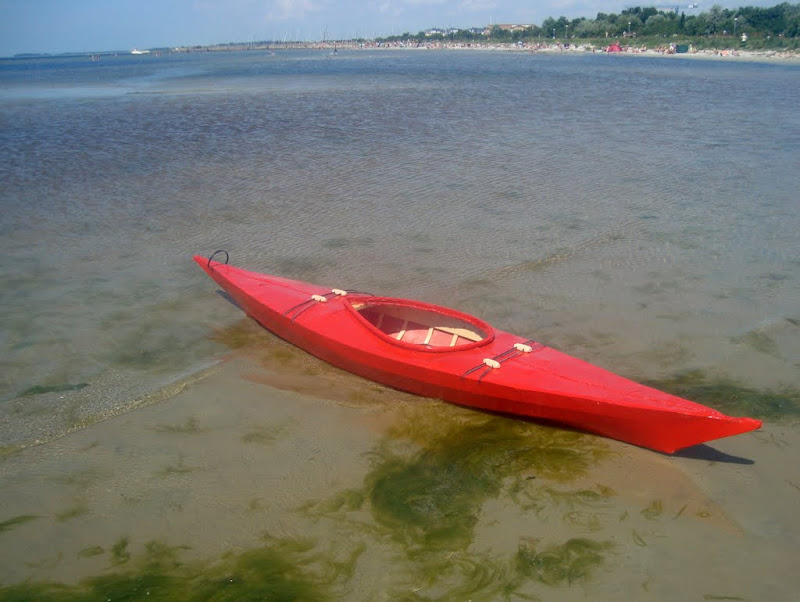
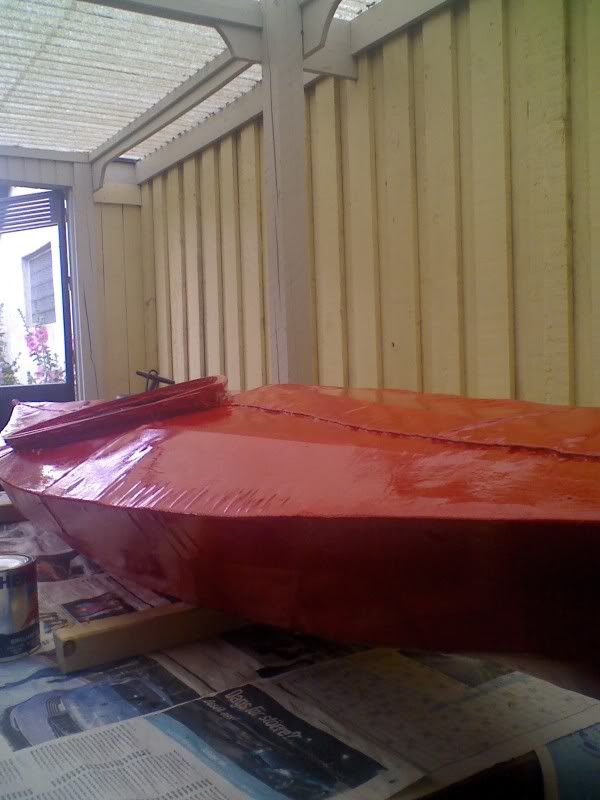
later in the evening I went out again, time for colour! :D
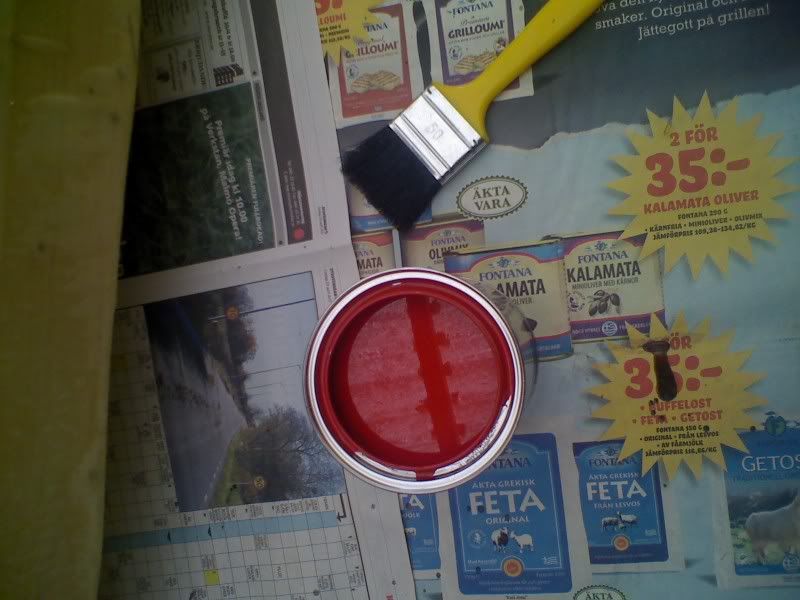
The paint is actually the same as the varnish I use, but pre-coloured, and again I got surprised by how strong the colour was, but I expect it gets a bit darker as it dries.
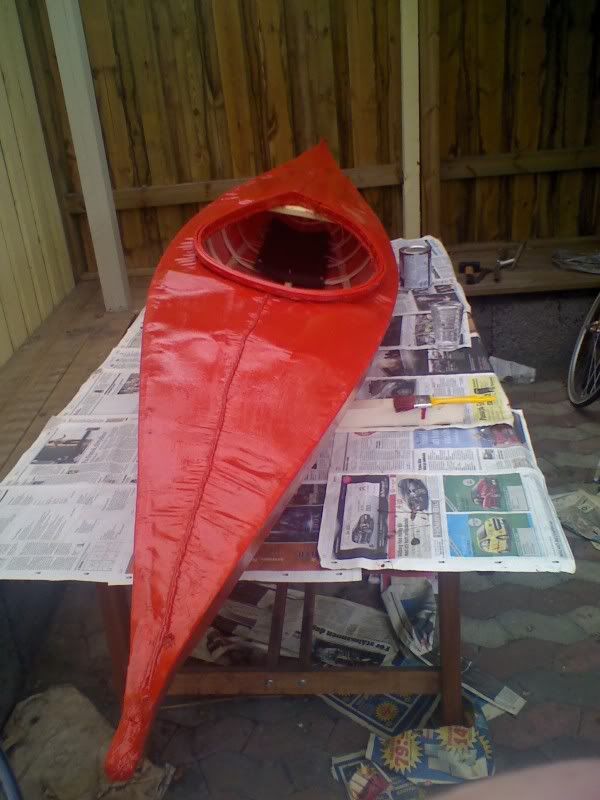
I wanted to leave the coaming unpainted, but I accidentally got a big blob of paint on it, and decided to just got all out, but I'm considering painting either the flange, or the entire coaming blue, just to make it stick out a bit from the rest of the kayak.
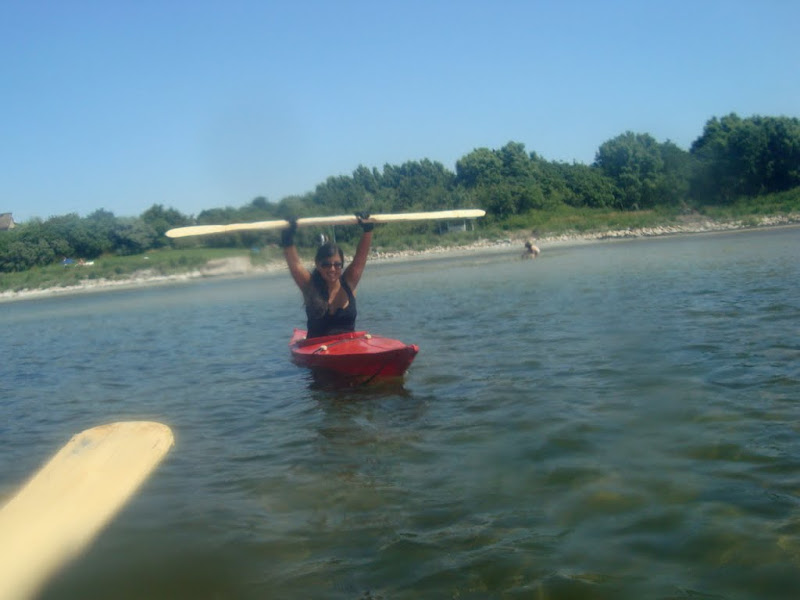
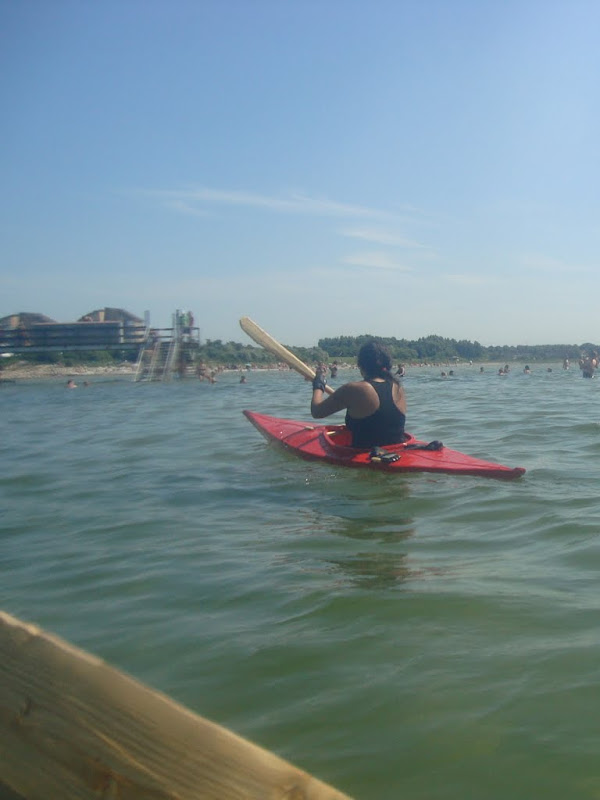
I also have to finish up the paddle I'm making so we can actually go take it for it's maiden journey, which should be friday evening or saturday morning.:D